GUEST POST by Barry Peterson
I’ve used a pretty good variety of parts on different guns, and used consistent parts on different guns too. I like particular triggers, for example, so I tend to put the same set up in as many guns as possible. But I’m also big on variety, which is why no two guns I build are ever really the same.
Choosing just the right part for the gun’s intended purpose can sometimes be tough, with so many options available. Other times, it can be pretty darn easy. In the case of the upper I built for this review, the choice was simple. You see, following a past write-up (which you can read here), I was contacted by some of the fine folks over at a California-based outfit called Trinity Force. After some friendly chit chat about the scope I reviewed and some basic gun guy banter, the rep offered to get us set up with a fancy new handguard they’ve been working on. If there’s one thing I’ve learned from the shooting world, it’s “never say no to free gear.”
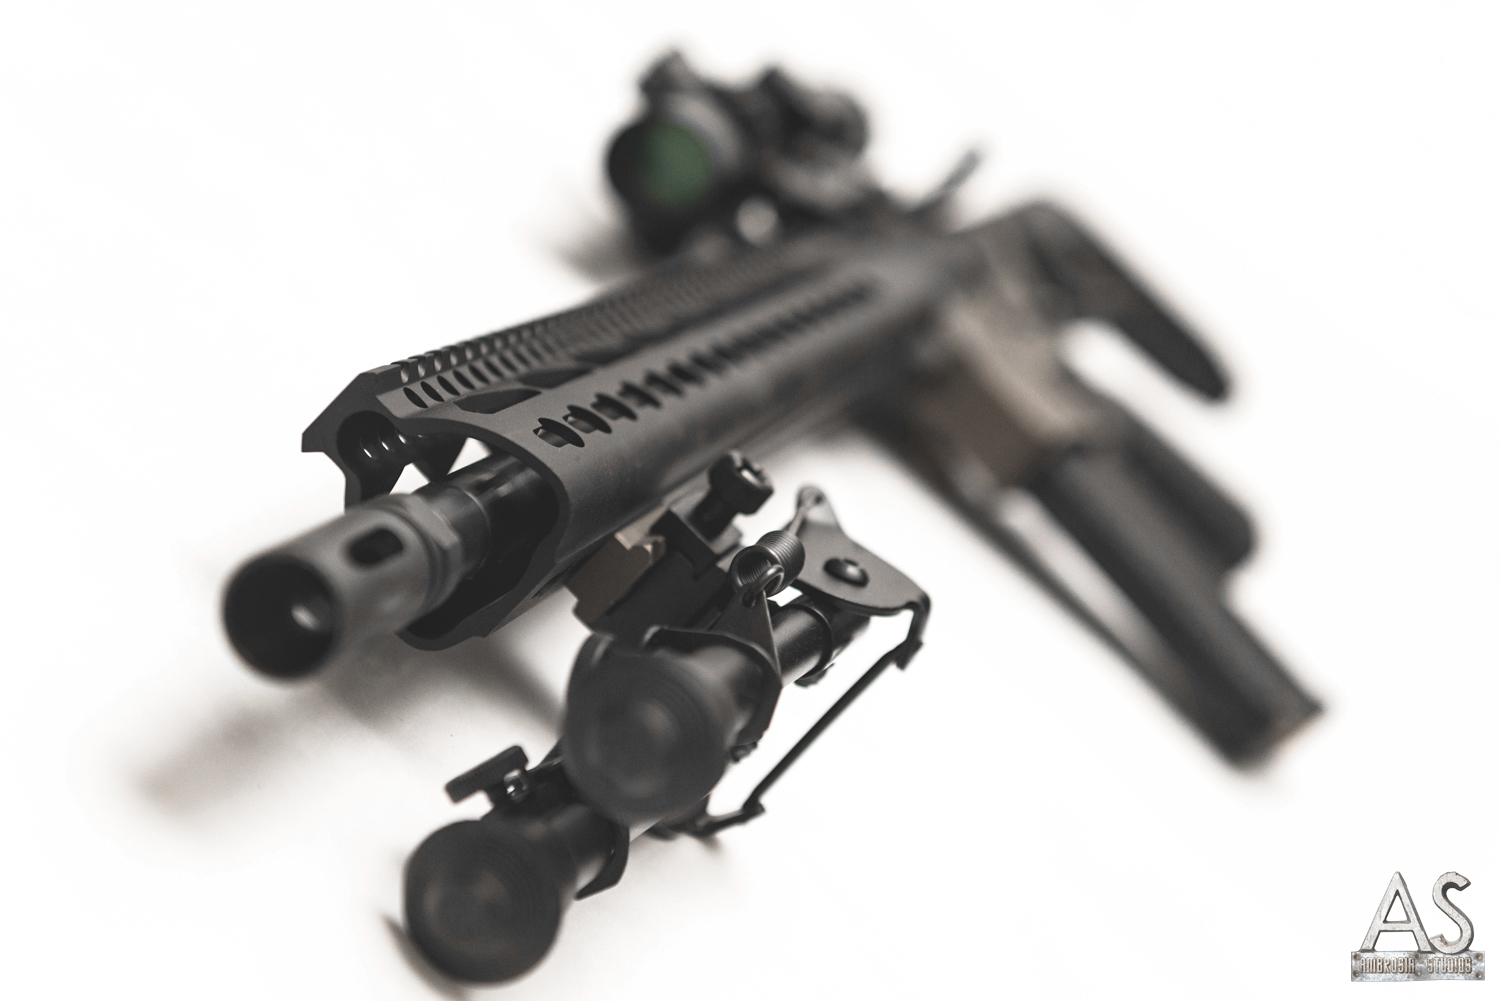
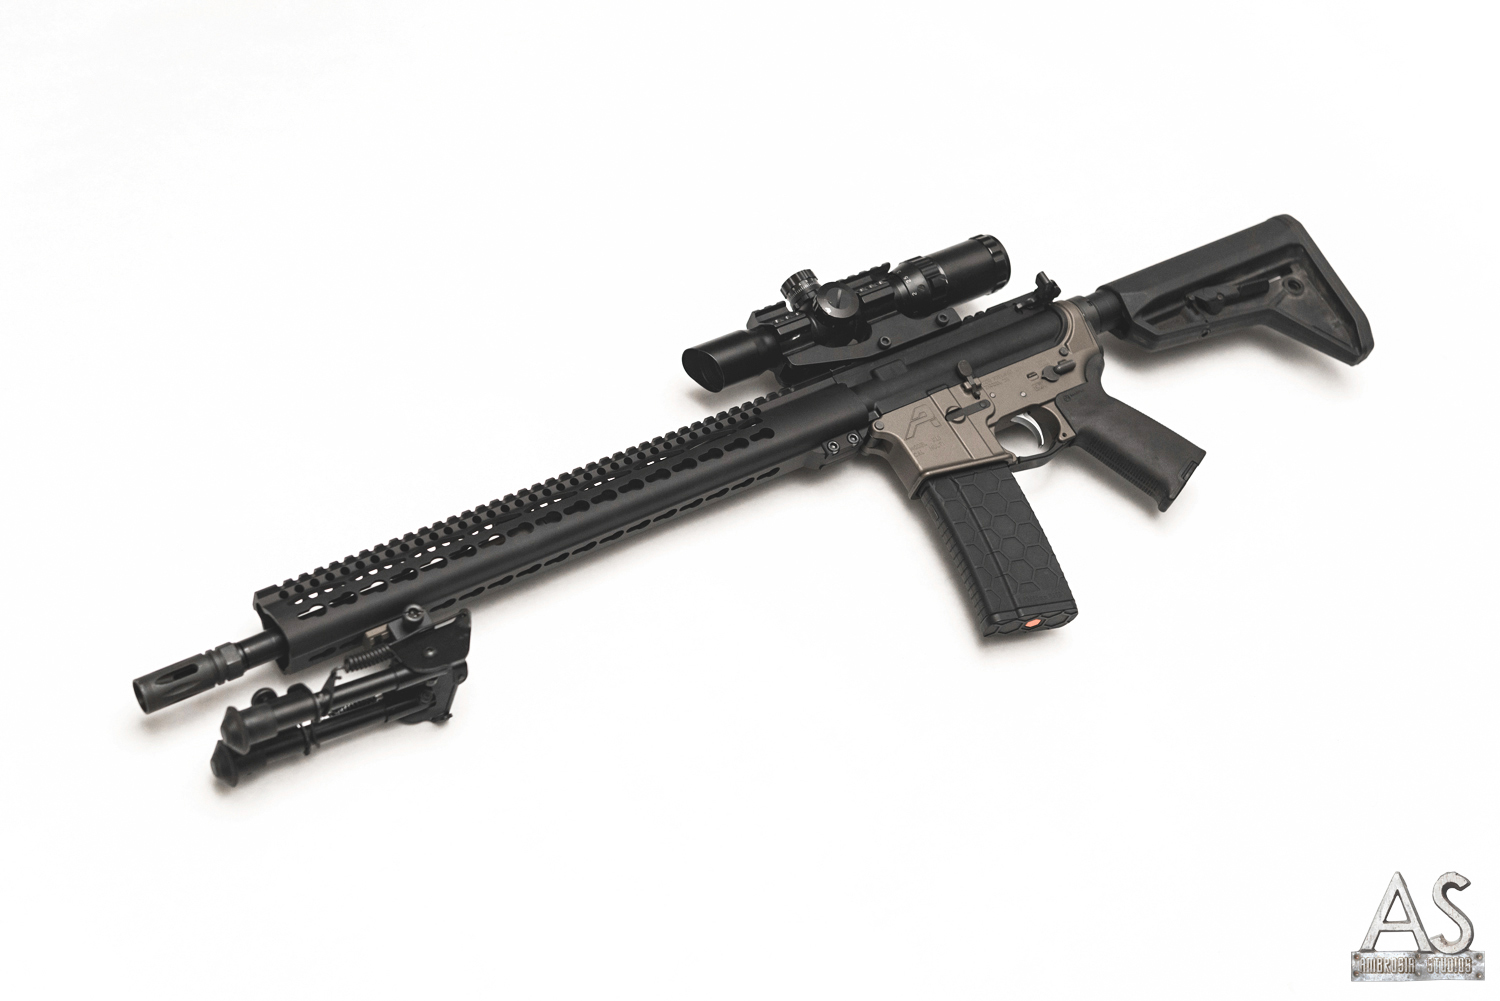
As I waited for delivery of the handguard (which turned out to be two handguards), I went to work getting together other parts to build a simple upper to use as a test platform for the new handguard. Right from the start the goal of this test is essentially to try to destroy the handguard. Now, I don’t mean I’m going to just sit down with a Dremel and chop it up, of course. But it would definitely be facing some considerable abuse. However, while the handguard may have been donated for testing, I’m still on the hook for buying everything else, which I don’t intend to destroy. With that in mind, I decided on a pretty tough 18” HBAR barrel, the heaviest darn barrel I could find. A sturdy Yankee Hill Machine low pro gas block and tube went on it, and married it all to a beat up old upper that was graciously donated by our buddy James.
Finally, the big day came. Our friendly USPS lady was spotted rummaging in the back of her little mail truck and eventually emerged with a nice big box full of metal for me. First impressions were, well, impressive I guess. The handguards are heavier than expected, especially for keymod. I’ve grown so accustomed to keymod stuff being lightweight based on experiences with Bravo Company, Noveske, UTG, etc. That’s not to say these are too heavy, but ounces are pounds and these have the ounces.
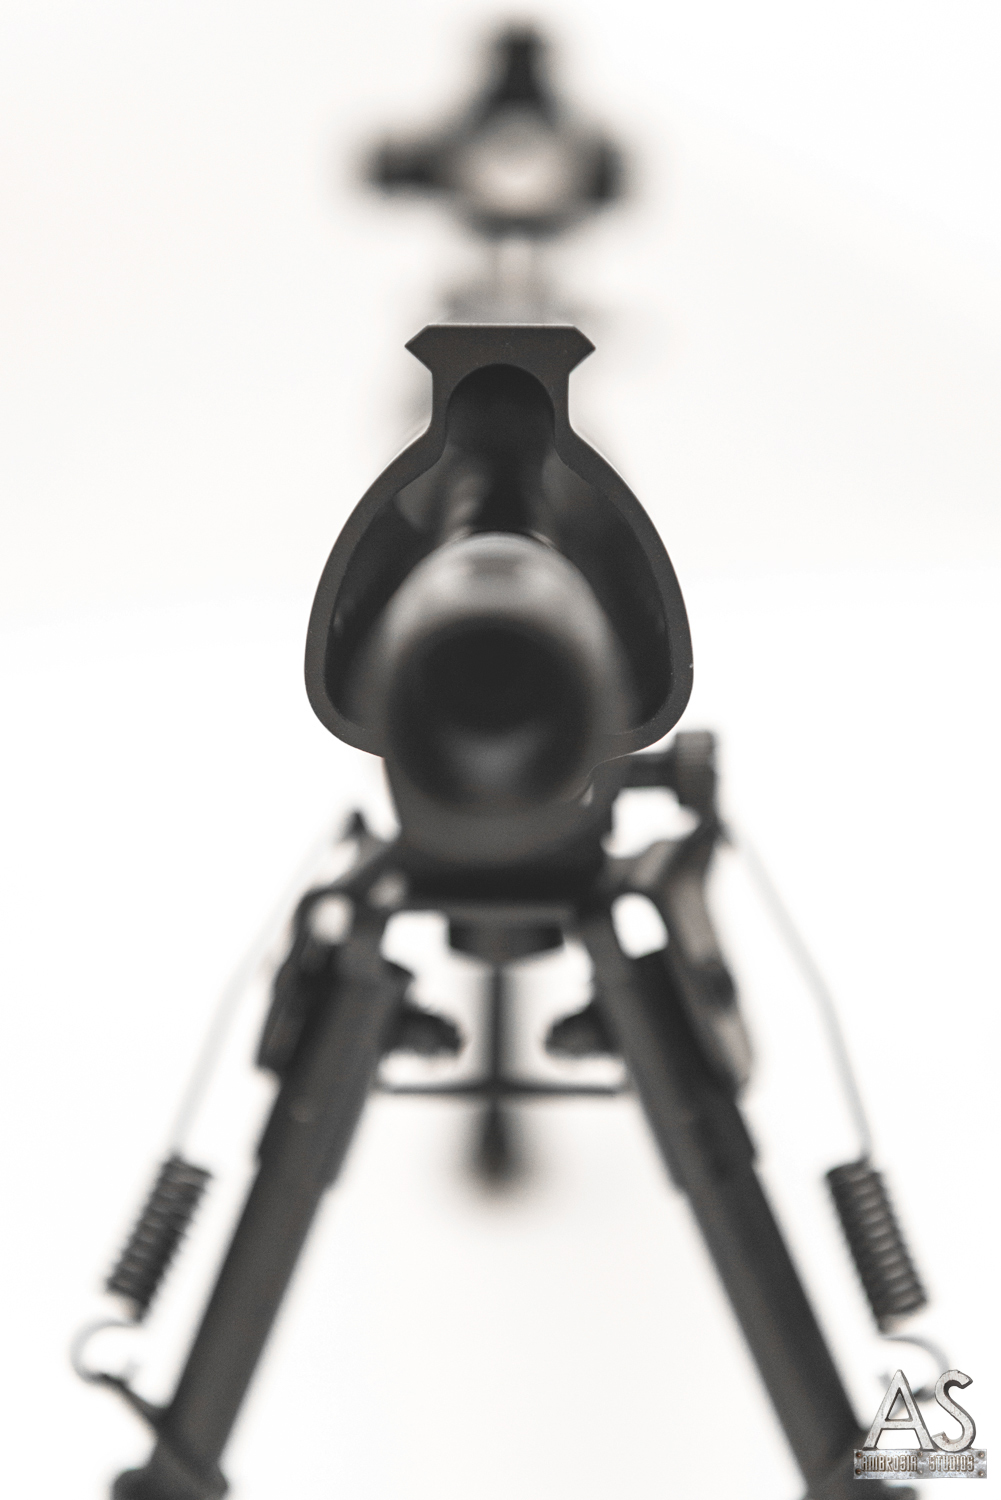
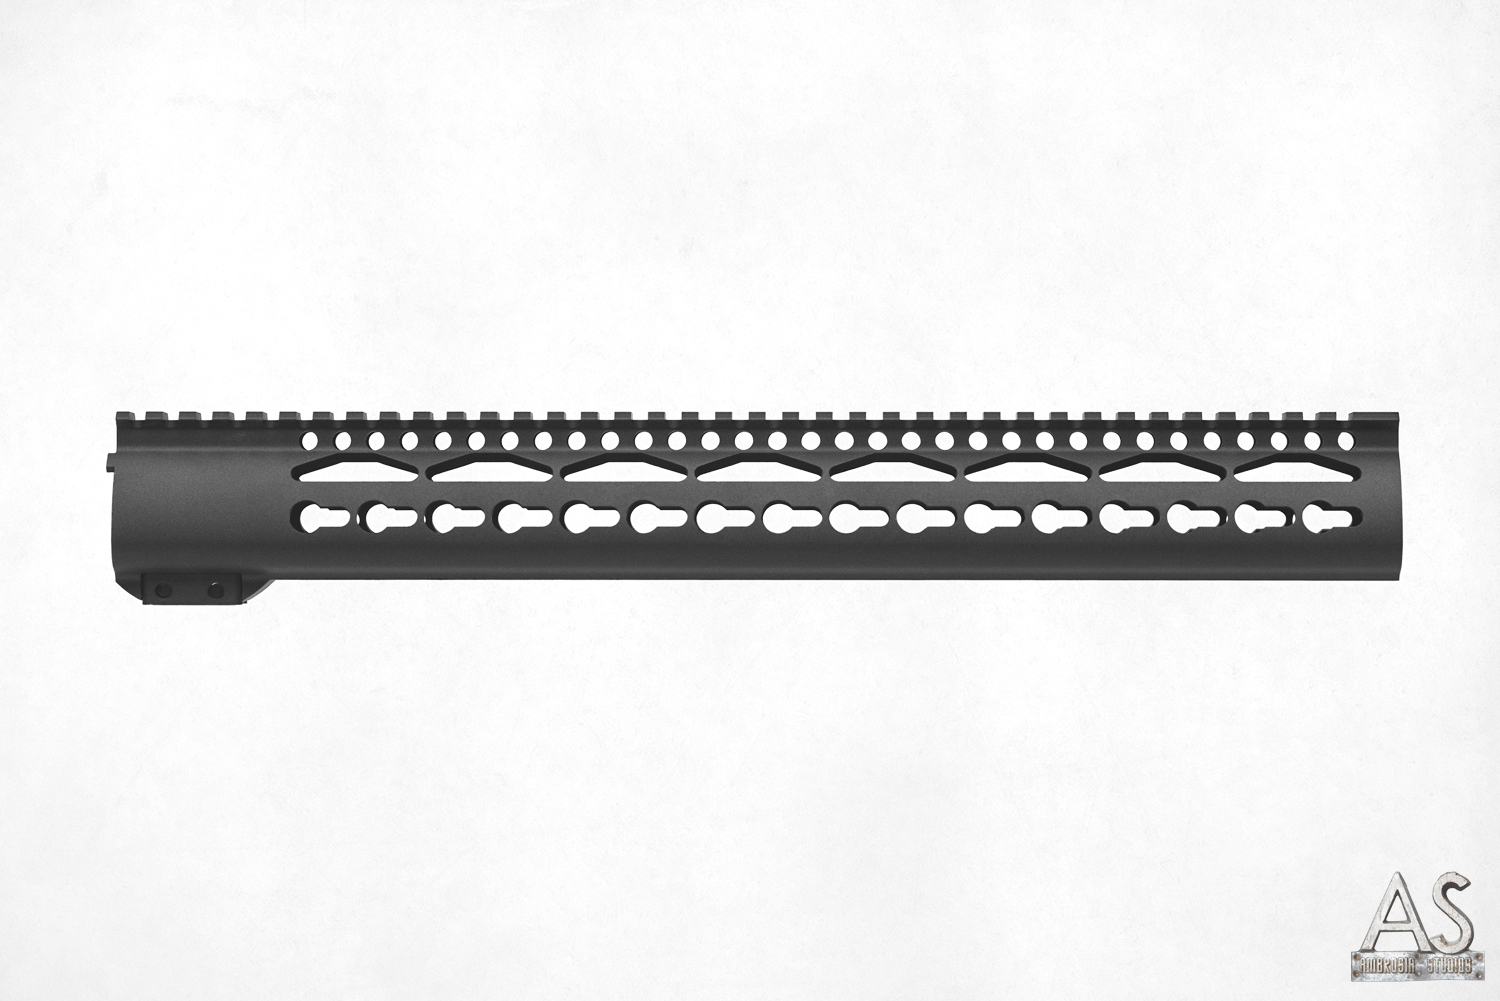
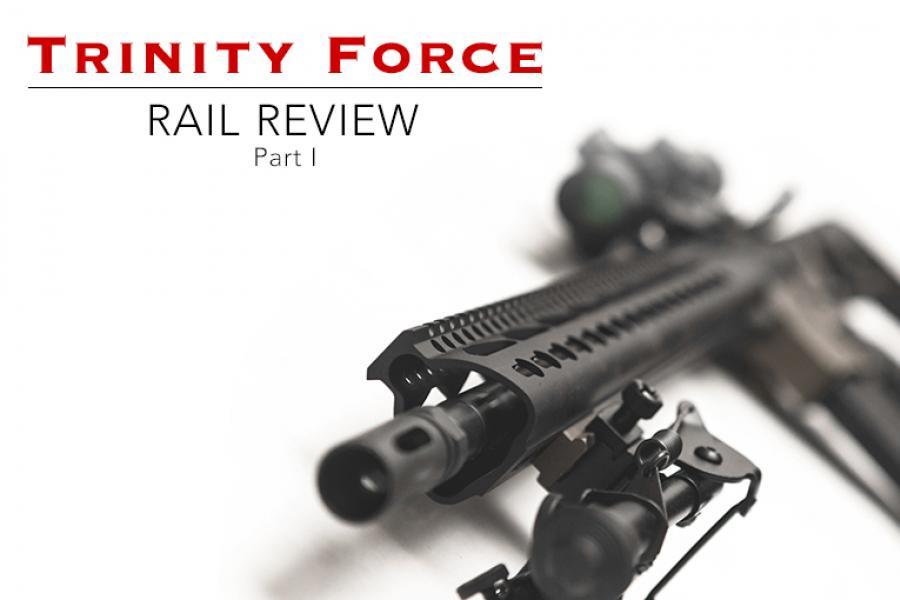
Weight notwithstanding, the rounded triangular shape of the handguard feels awfully natural in the hand. They’re egonomically sound and provide a better than average grip. The flat(ish) bottom also provides great support when propping the gun up on a bench rest or on a barricade prop during competition shooting. I imagine it would work just fine on top of a wall, over the hood of a car or across the closed top of a friendly neighborhood hot dog vendor’s cart.
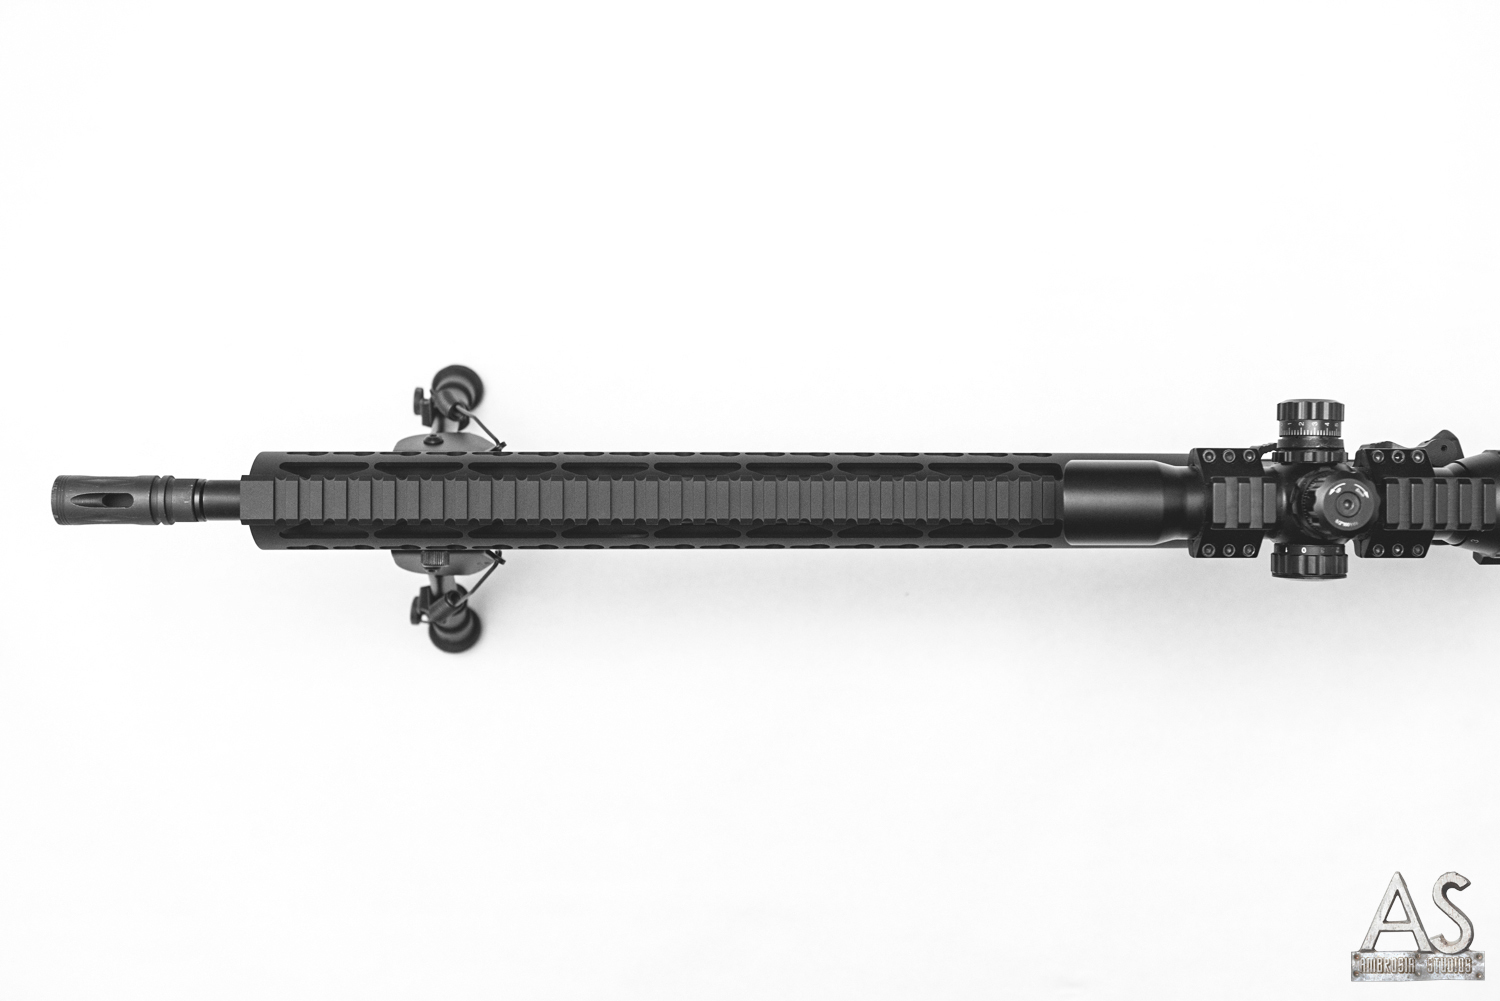
The handguard has keymod attachment slots running its entire length, in addition to the full-length Picatinny rail at the 12 o’clock position. Unlike some other keymod set ups though, the Trinity Force handguard only has three rows of attachment points, running at3, 6 and 9 o’clock positions. Do you need to have 8 planes of attachment points on a handguard? I don’t know, maybe. I guess it’s nice to have the options. I prefer to have a WML running at 3 o’clock, where I can reach it with my support-hand thumb (since I’m still not a c-clamp convert).
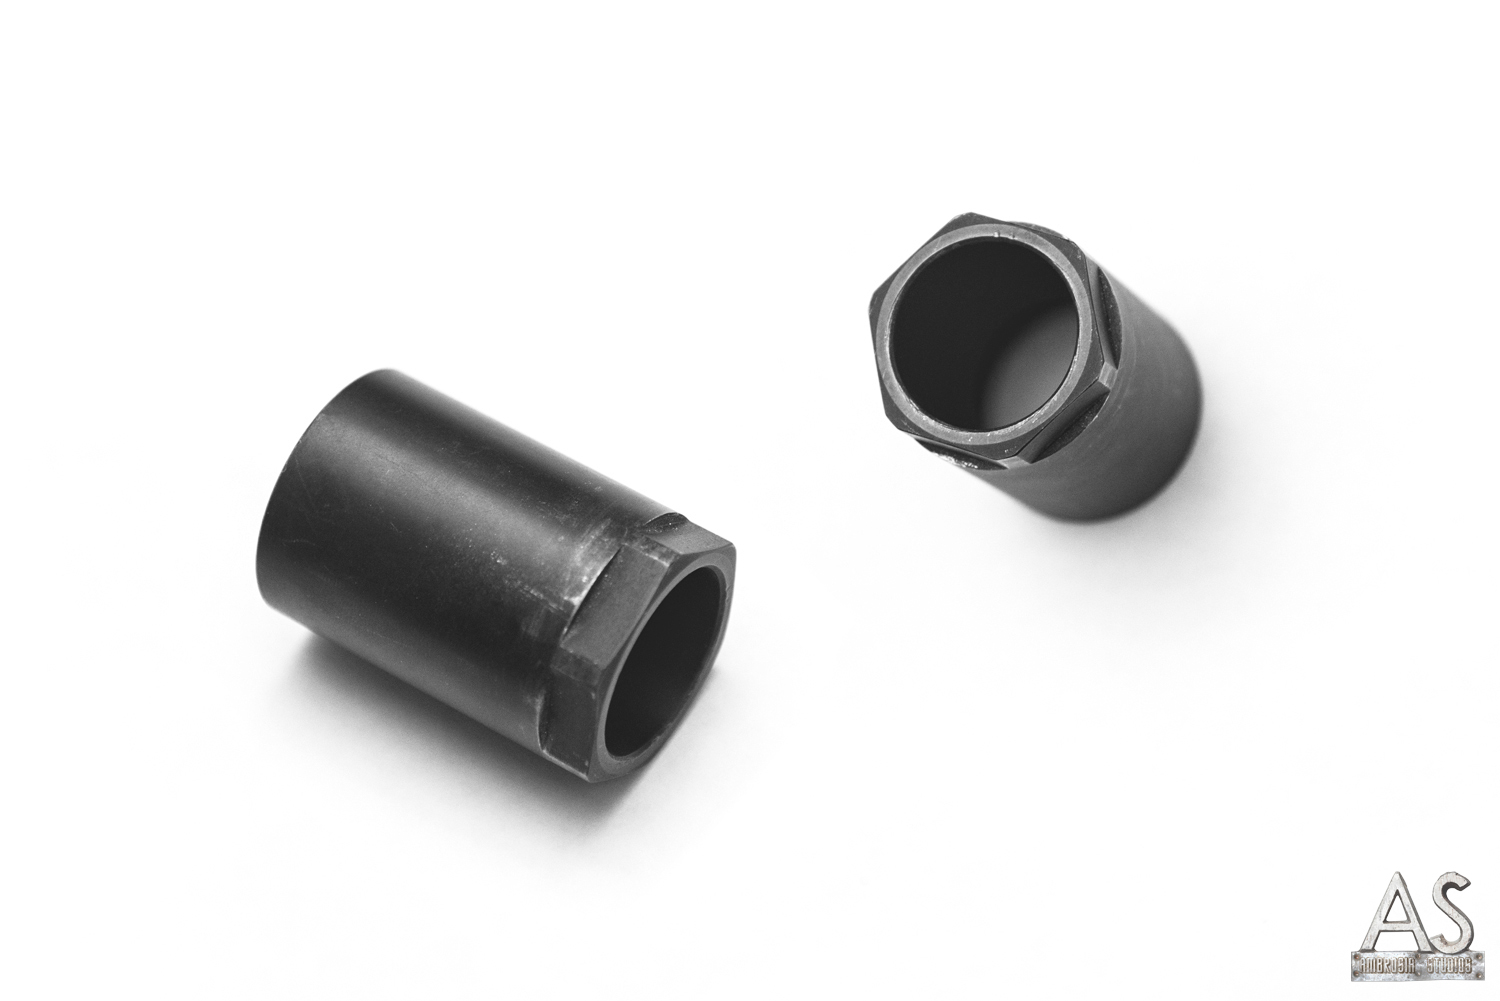
I spent a few minutes looking over the whole thing to get a feeling for just how easy or difficult it would be to install it. Trinity Force is using a somewhat unique barrel nut attachment system that I found pretty intriguing. The barrel nut itself is heavy duty, heavier than most barrel nuts I’ve encountered in the past. I like that. To quote one of my favorite flicks, “heavy is good, heavy is reliable.” I was a bit concerned that the planes for grabbing the nut with our torque wrench were surprisingly small. The purchase area is only about a quarter of an inch, considerably smaller that the half inch width of the wrench slot. I’ll cover that a bit more later.
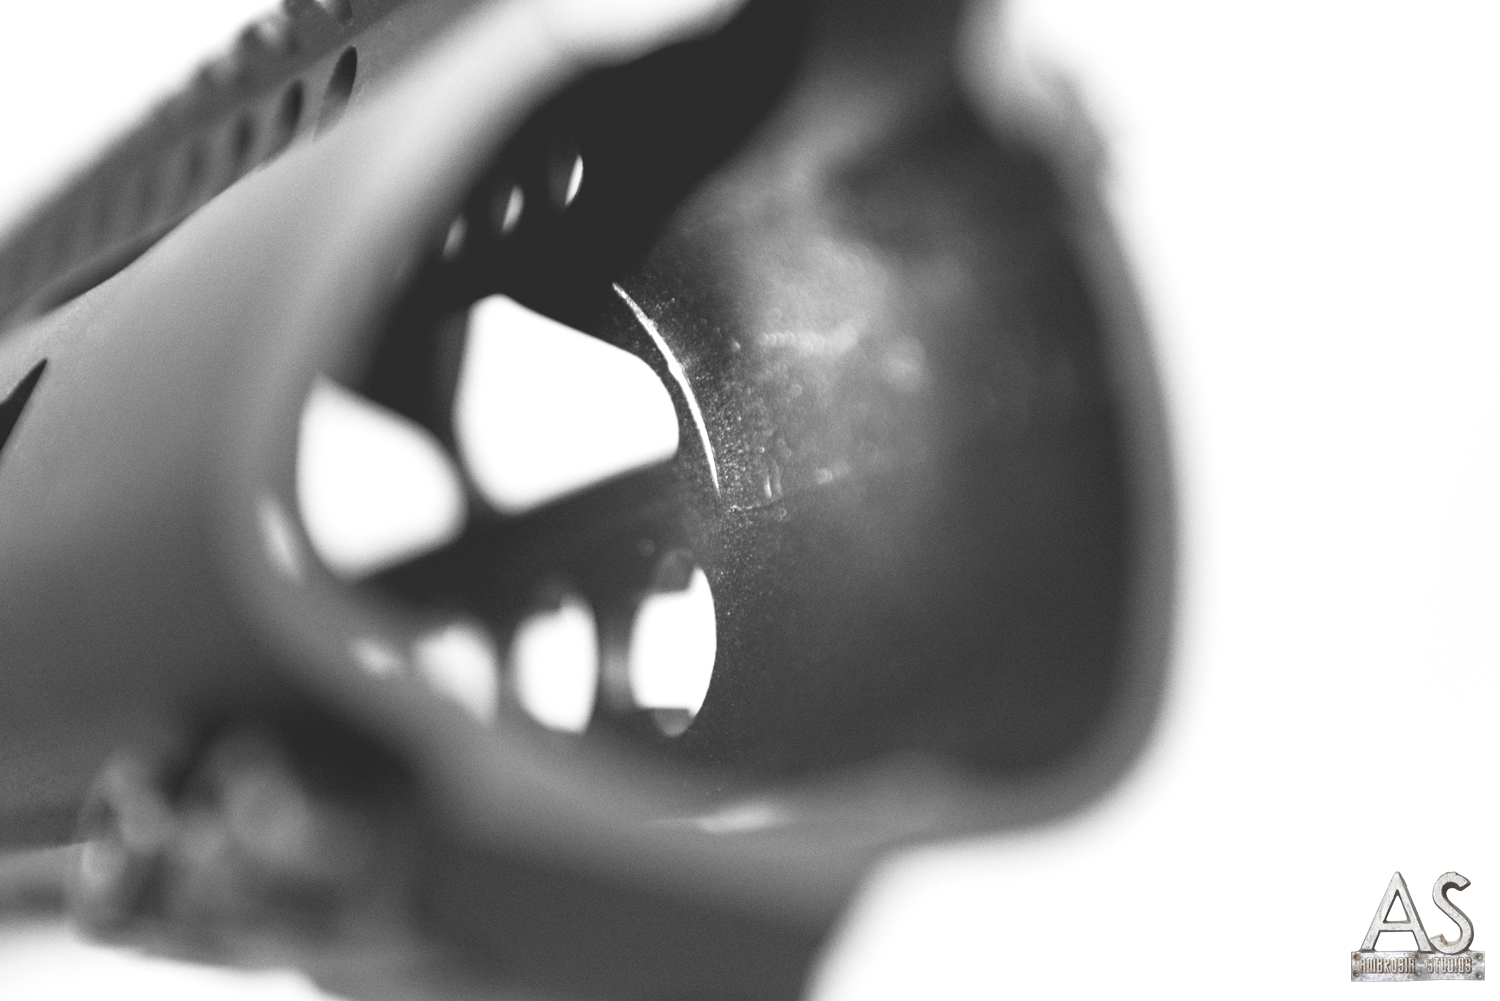
The handguard mounts onto the barrel nut using what is essentially a clamp system. On the underside of the thing are two small chunks of aluminum cut out and drilled for screws. They’re angled on the inside to sit flush against the barrel nut and grab on as the screws are tightened. On first glance I had some serious concerns that such a small surface area making contact with the nut would be sufficient. Testing will address that, as you’ll see.
One thing I was surprised to see were the tiny anti-rotation tabs that sit on either side of the upper when installed. My surprise is in the fact that, well, my gosh they seem small. While they sit nice and flush and feel sturdy, it just seems odd that they’d be so small. I’m not sure why you wouldn’t extend them a bit, but I’m not an engineer and I guess maybe there’s some engineering smartness involved that I just don’t get. The tabs measure roughly 1/16”, which is puny when I compare it to the tabs on the UTG, which essentially run the full vertical length of the handguard. For other reference, though, the Noveske tabs are actually even smaller.
I cruised on in to my local shop the next day to get the first upper built. We had a bit of trouble getting the barrel nut torqued down properly, as we couldn’t get a really good grip on it with the wrench. The nut was a somewhat odd size, which meant we didn’t have a wrench that would fit it perfectly. We ended up having to use a slightly larger wrench and crossed our fingers that we wouldn’t strip the nut. This, again, brought up the concern about the short plane face on the nut. It was our “expert” opinion that milling the nut out to offer 3/4” of plane would have been ideal, without sacrificing the integrity of it. Another option would be to include a wrench with the retail packaging or at least offer one as a stand-alone accessory; that would pretty much alleviate our concern.
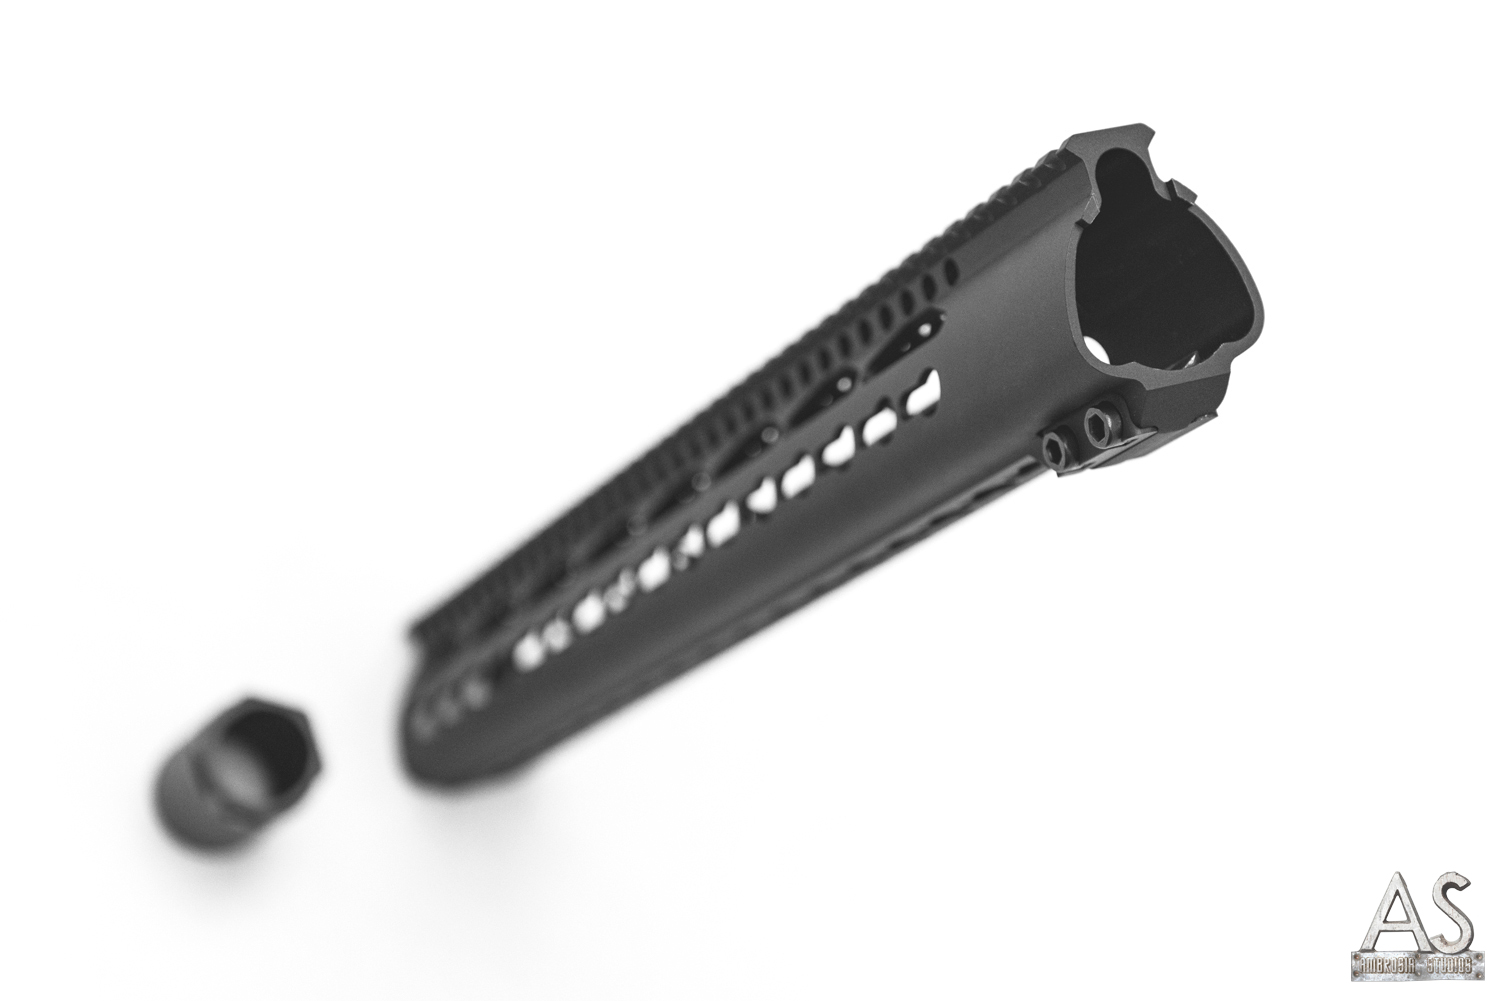
The handguard slid over the barrel just fine, plenty of clearance for the gas block/tube and about 1/4” of clearance all around, slightly more at the “points” of the triangle. Then….we hit a snag. Well, not a snag really, more like three tiny aluminum walls inside the handguard. The last two inches or so of the handguard are milled to be round to fit the barrel nut. As a result, there are three spots where the round milling stops and bumps up against the flatter triangular plane of the rest of the piece. Ours wasn’t milled quite deep enough for the handguard to go all the way back flush with the upper. At least not at first. Some heavy grit sandpaper and brute force eventually worked that problem out, though I’m pretty sure we’ve permanently marred the inside.
We tightened down the clamp on the underside, making sure the two tabs stayed aligned and flush on the barrel nut. I was definitely impressed with how surprisingly solid the mount felt. There was no perceived wobble or wiggle. A dash of blue Loctite should hold everything in place. Should.
Last step was throwing our old Trinity Force scope onto the upper and firing a few test shots just to make sure the thing wouldn’t blow up in my face. I’m too pretty to risk that kind of catastrophe. Everything worked fine and we stood around patting each other on the back. Then we remembered that the real testing was about to begin.
Come back for Part 2 for the torture testing. Expect some blood, sweat and tears. Plus an awesome soundtrack by Grammy Award winners Blood, Sweat & Tears.