GUEST POST by Barry Peterson
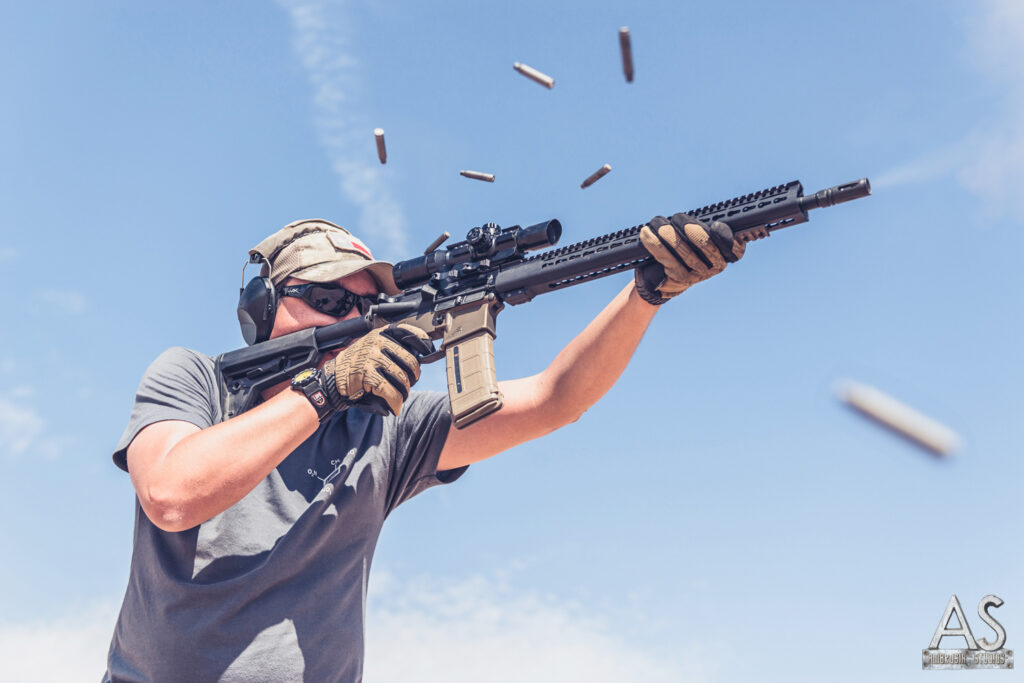
After a few relatively minor issues with the installation, we set aside some time for a bit of controlled environment testing. We ventured out into the unreasonably hot west Texas summer sun recently to do a bit of work. Keep in mind, these tests are relatively basic and simplified, but we did try to simulate a few real-world type situations, as you’ll see below. Also, we’re not engineers, so our ideas on “fixes” may not be worth anything. We’re just dudes who are uncommonly gifted at wrecking things.
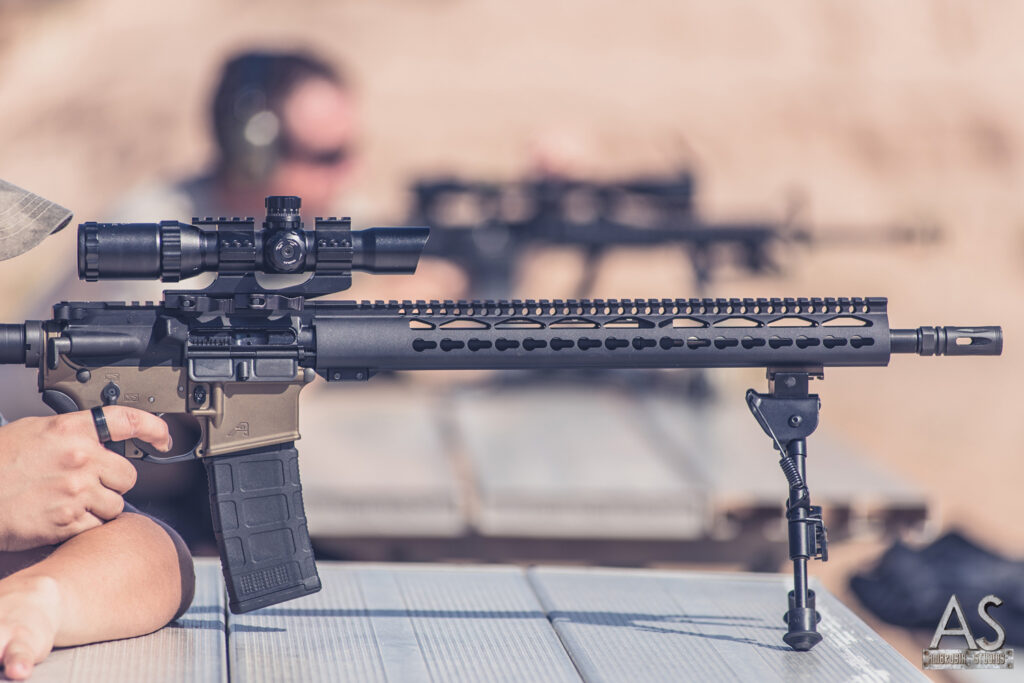
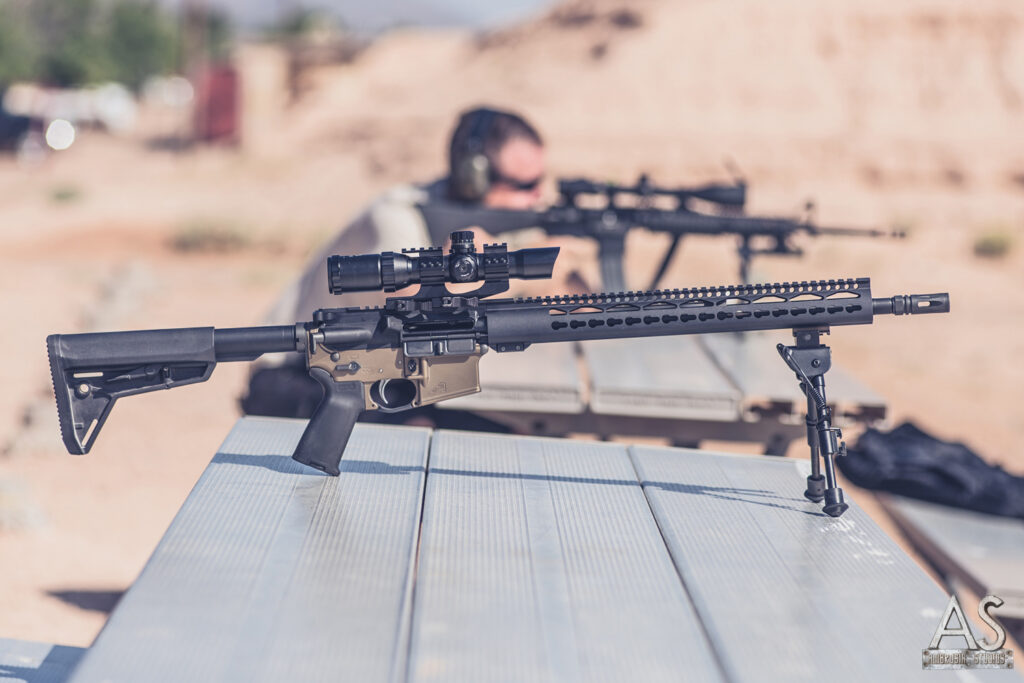
First thing’s first though. I took the gun into the nice air conditioned indoor range at my local shop for a couple of quick initial measurements. The idea was to get controlled baselines, then come back after our field day and see what was (or wasn’t) changed. I took measurements of the internal diameter, ensured the rail was straight and level, including laser leveling (rudimentarily, I admit) and final hard torqueing of screws and such. I attached a laser to the far end of the rail, in place of a front sight. I set the dot at bullseye at 50 feet on the range. If the rail bent in any direction, I’d be able to go back and put the laser on target again and measure the deformity. (Note: the laser was removed for all other testing to ensure changes weren’t the result of the laser itself drifting.)
With all these measurements in hand, we loaded up the gun and gear and headed out to bang it around a bit. We had essentially four key tests we intended to run:
- Vibration test – would the vibration caused just by shooting the gun have any effect on the rail
- Hard drop test – butt-down, drop the gun so the rail impacts on a barrier; this would simulate both actually dropping the gun as well as going prone quickly and propping the gun on a barrier; in this case we tested on a railroad tie; drop was from approximately 12 inches
- “Snag” test – simulating an attached accessory catching or snagging on a barrier; for example, catching a weapon mounted light on a doorframe or an underslung bipod on, oh let’s say a railroad tie; this was intended to test the keymod attachment points themselves
- Heat dissipation – to measure how well the larger surface area would dissipate heat generated by rapid firing strings; this would be compared to two other ARs fired; this was to be the most complicated of the tests… but we didn’t quite get that far
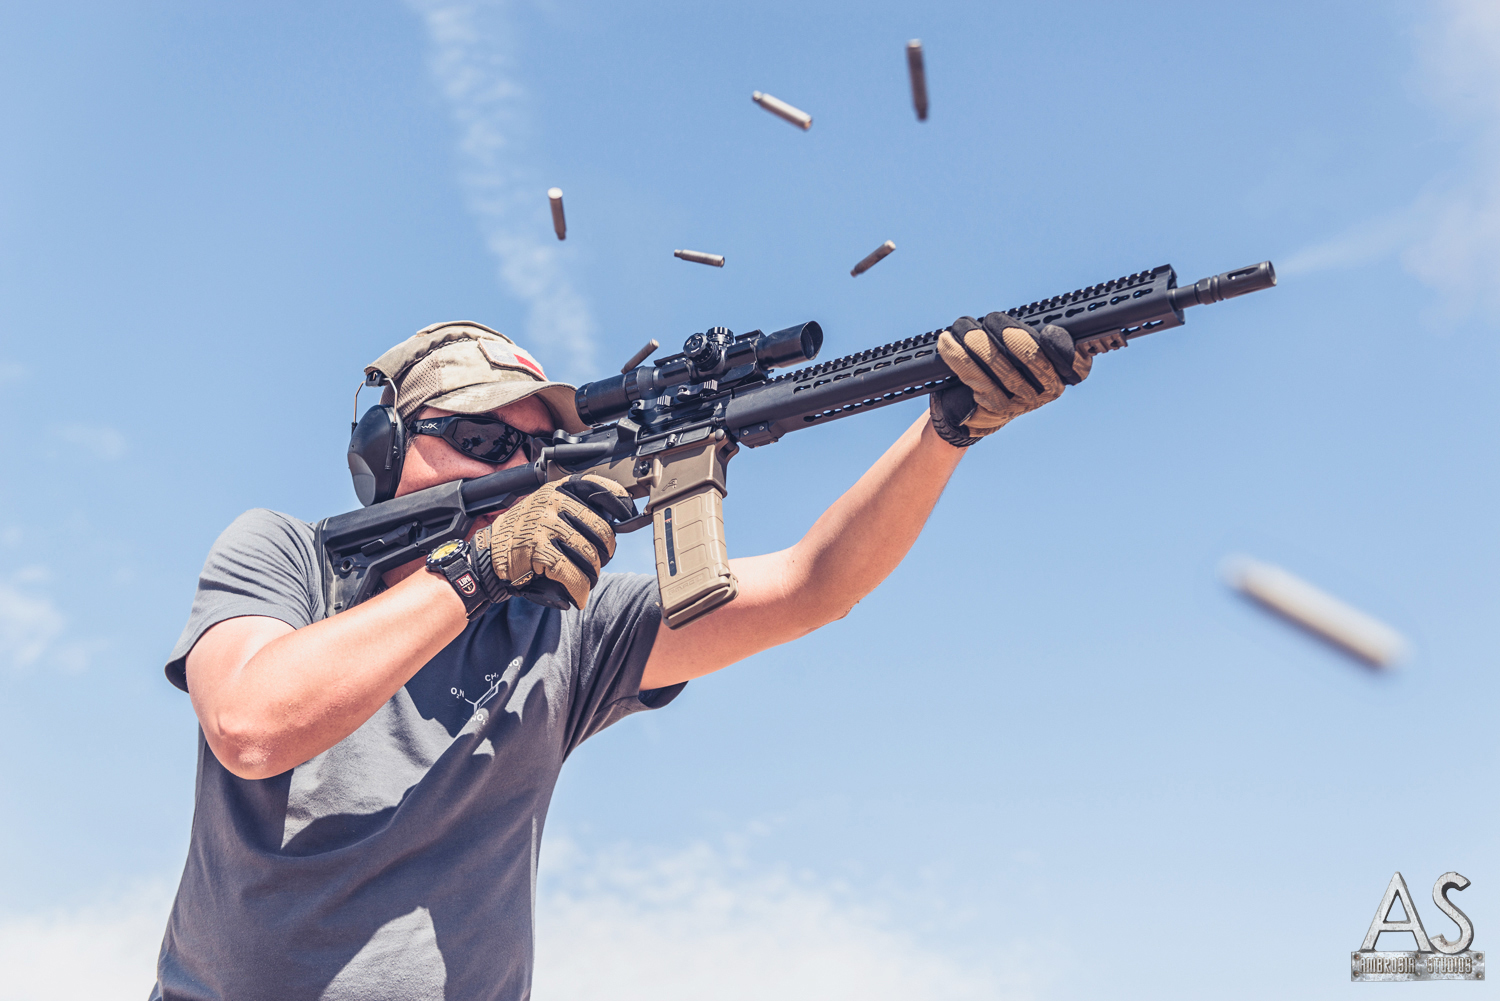
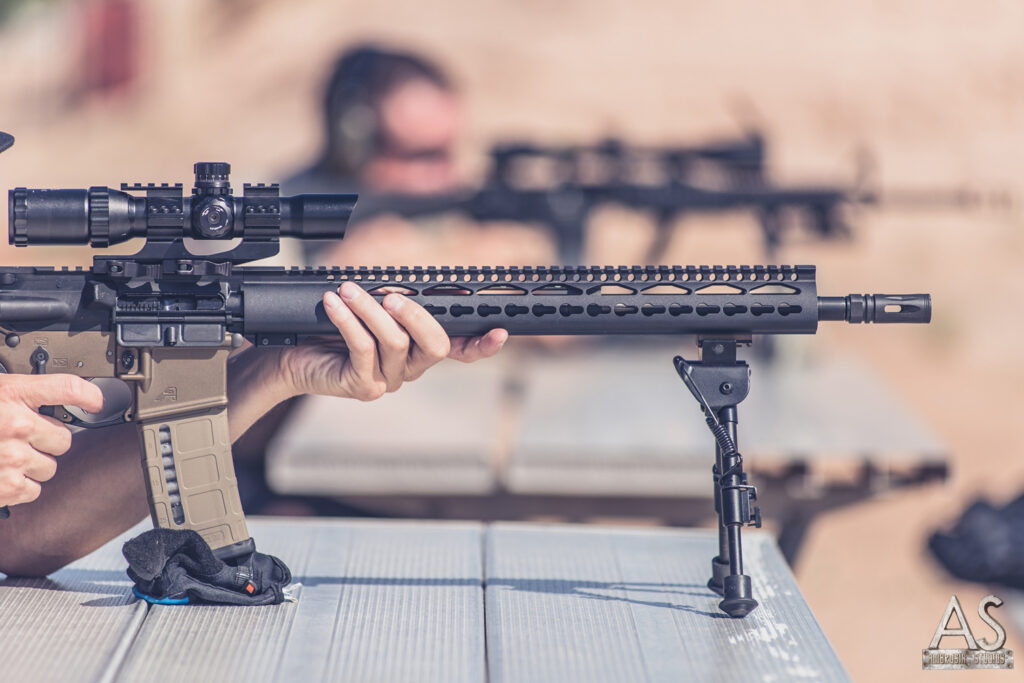
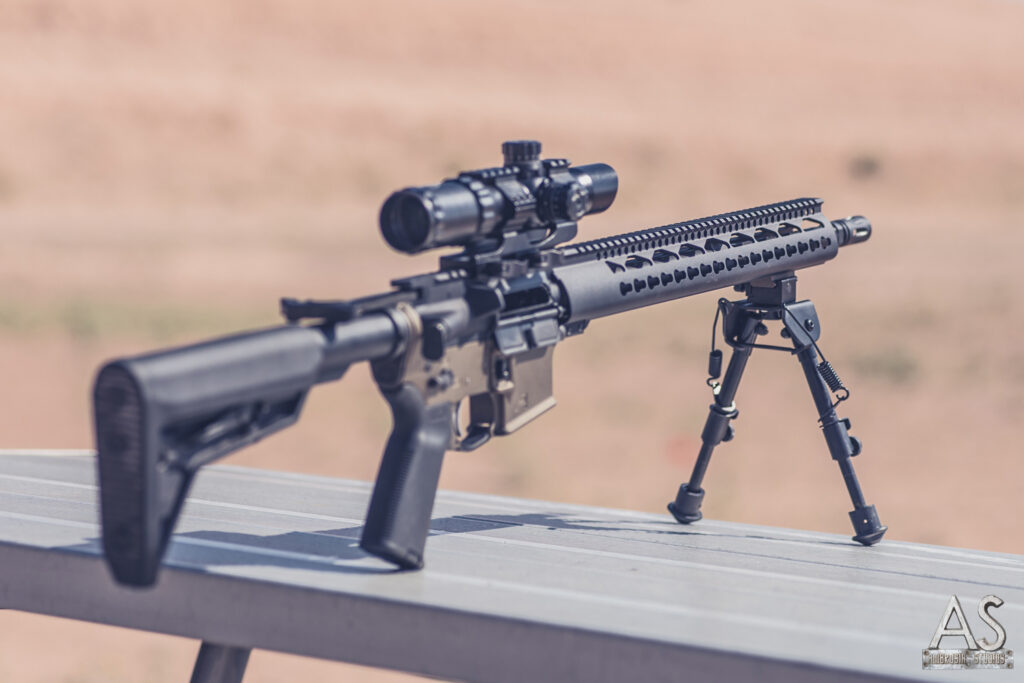
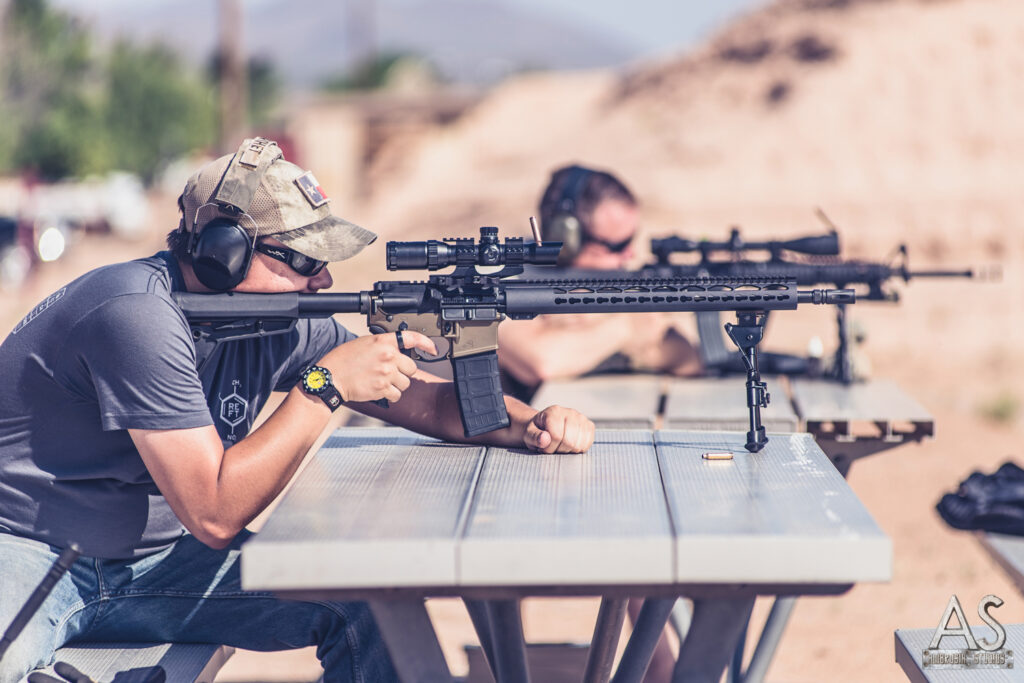
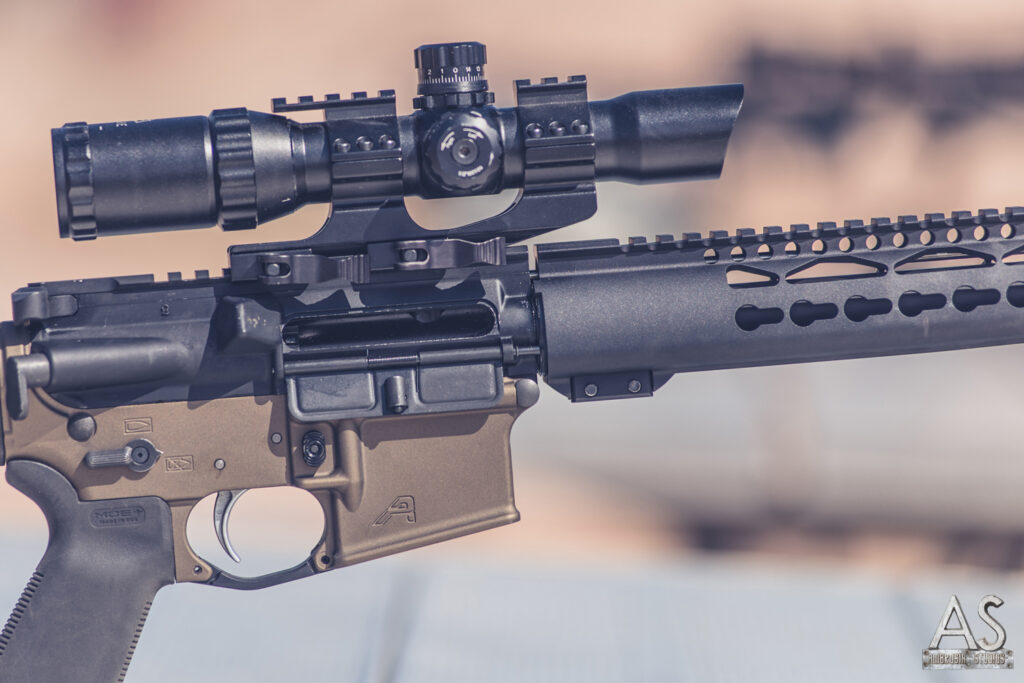
First test was fairly simple. Part of the idea of a free-float handguard is the fact that it is more isolated from vibrations generated by firing the gun. This isolation helps to prevent accessories like lights, lasers and front sights from moving around and losing zero. I’d planned to fire 30 rounds in progressively faster 5-shot strings. However, after about 10 shots just warming up, it was clear that we had the results we wanted. Despite the fact that we’d torqued the barrel nut screws down using near Hulk-like strength, the handguard almost immediately began shifting forward. In no time a discernible gap was visible between the upper receiver and the handguard itself (see picture). The remainder of this test was scrapped.
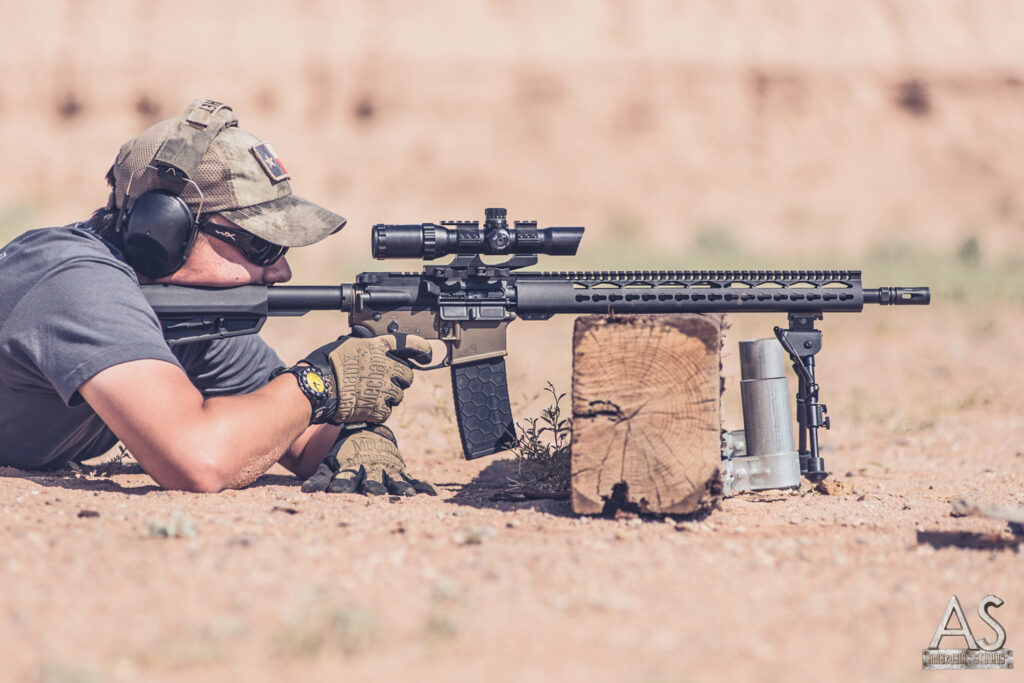
Next was the hard drop test. Let’s face it, guns hit the deck a lot. It’s somewhat important that a handguard be able to absorb most of these kinds of drops without suffering any major movements or failures. This test was conducted by placing the gun butt-down on the ground, then dropping the gun so that the handguard hit the railroad tie from about a foot up. Keep in mind, railroad ties are somewhat soft wood, nothing like a rock wall or anything like that. I’ve dropped my guns in this manner many times and have full faith that they’ll take the beating.
This handguard didn’t take it. The very first drop resulted in visible deformity, a noticeable bend right in the middle, causing the front end to droop. After-action examination found the keymod cutout at that point was bent inward, somewhat as expected. Cutting the aluminum for those slots means less strength at those points. My laser test noted a 4” drop at 50 ft. That is substantial.
Third test was the “snag” test. This test was recommended by some folks on an awesome Facebook page that I often turn to for all my gun-related questions. The discussions there about keymod all eventually turned to concerns that attached accessories would snap off if they were caught or snagged on obstacles. There were plenty of tales of foregrips and flashlights getting sheared off on door frames and walls. In order to ensure that the problem wouldn’t be my inexpensive bipod, I removed the bipod and tested snagging the rail on a single 6-slot rail attachment piece installed almost at the far front end. I used an extra UTG rail section that I had laying around, after finding out that the Mega Arms piece I had simply wouldn’t fit.
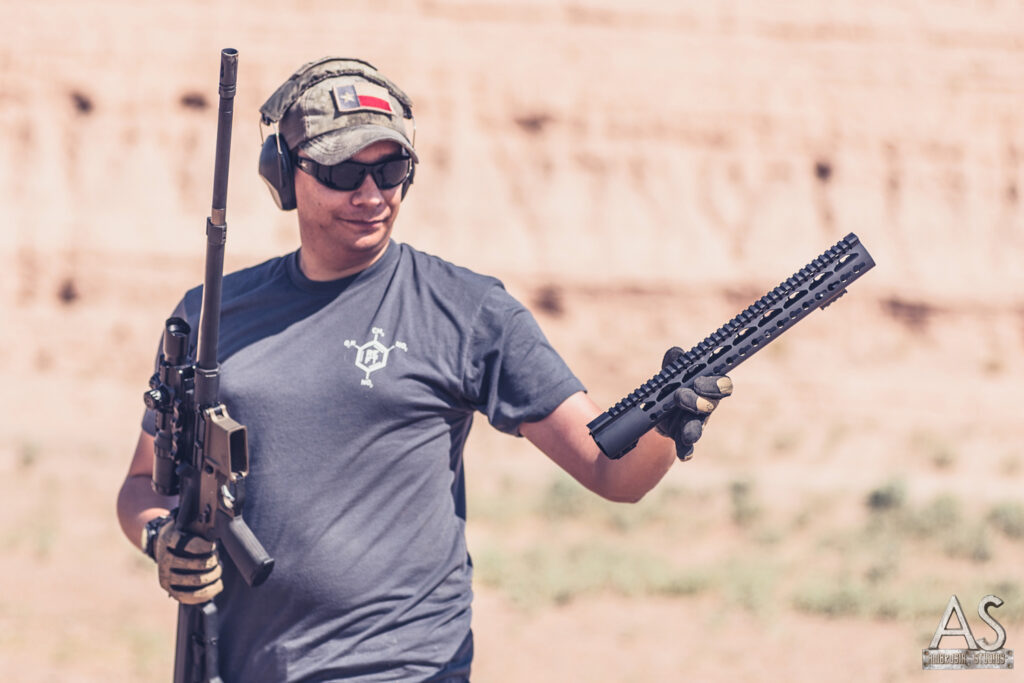
I placed the gun back on the railroad tie, then proceeded to stand quickly and catch the rail section on the front of the wood. The first attempt caused the gun to slip out of my hand. This seemed like a success, since nothing on the gun had come loose. The rail section was intact. I then tested it going forward, putting stress back towards the gun. Again, the rail section stood firm. Hoping to continue these results, I proceeded to replicate these actions. On the third go-round, it happened. The rail section held on for dear life, but the whole handguard itself was pulled clean off the gun. You may recall from Part One that we had concerns about how effective the barrel nut attachment would be. It was not terribly effective.
“Well,” we thought, “that’s a drag.” Needless to say, we stopped the testing. Our probably-too-complicated-anyway heat dissipation test was shelved for another time. We took this opportunity to brainstorm a few ideas on how the issue could be resolved. It seems like a few things could be done quite easily, without substantial cost or inconvenience. If I owned a steel lathe I probably could have fixed it myself. But like I said, I’m not an engineer.
In summary, I’ll say this: Trinity Force is onto a good plan here. I’m still impressed with the ergonomics, ease of install and aesthetics of the handguard. I’ve been informed that TF’s guys are working on improving the design already, so hopefully they’ll take some of this into account. In the meantime, this isn’t a bad set-up for range toys or plinking guns. They’re just not ready for hard use on fighting guns.
As always, thanks to Ambrosia Studios for the pro photos, Sportsman’s Elite for the use of tools and gunsmithy stuff and thanks to Robinson Munitions Mfg for the ammo.


Comments
Terry Kremin
Norman Bratcher
Norman Bratcher